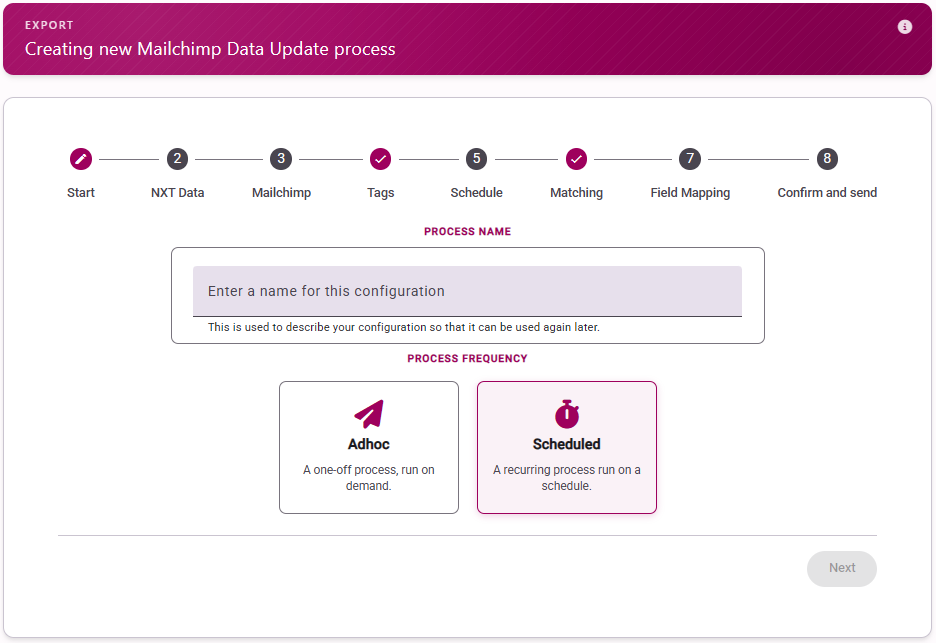
Give your template a name (we recommend a strong naming convention) and choose ‘Scheduled – a recurring process run on a schedule’
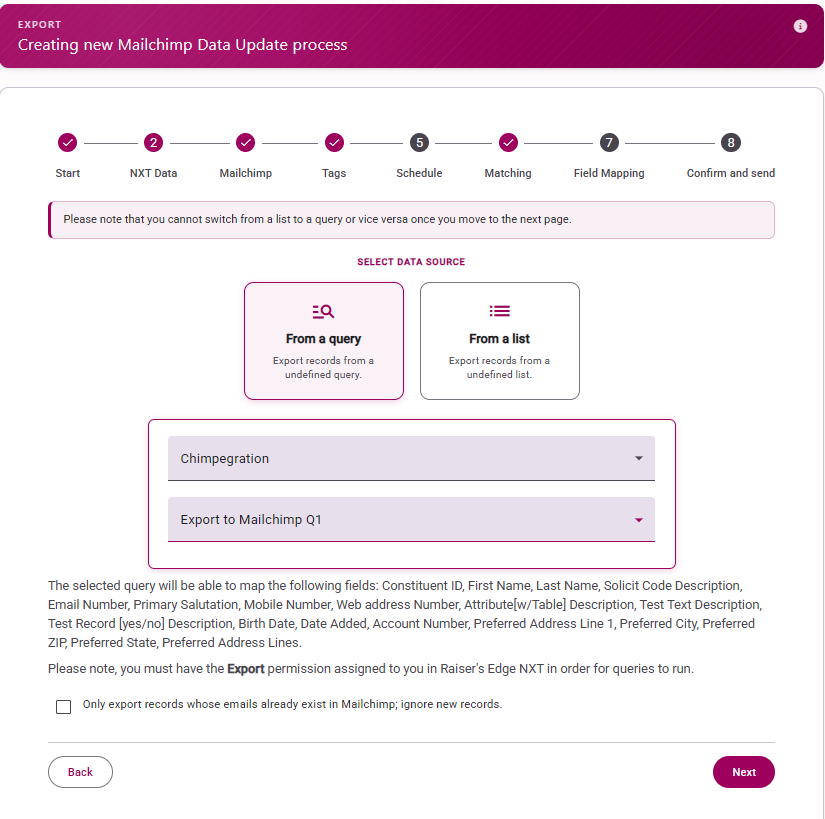
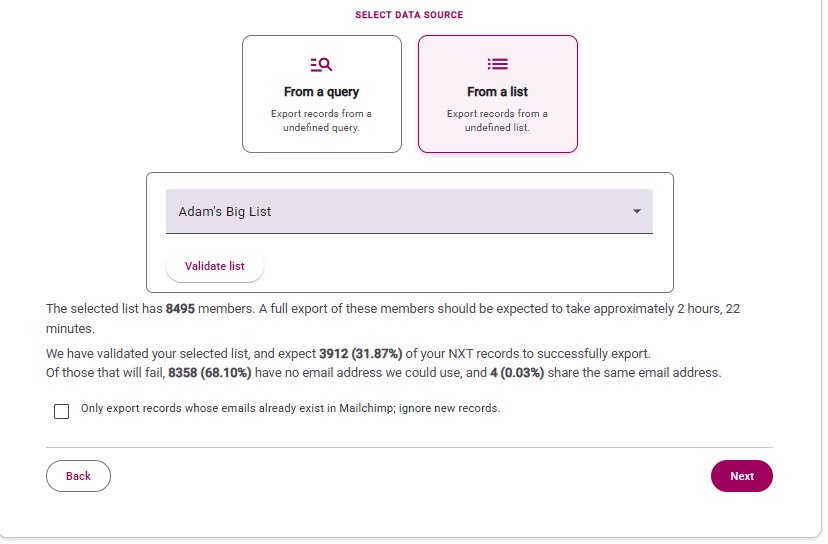
NXT – Lists or Query
Select either an existing NXT List or Query. For Query, we recommend that you place all Chimpegration based queries into a dedicated folder/category within RE, to make it easier to find in our dropdown list.
When using NXT List, do select the Validate List button to get an overview of how many records would be suitable for Mailchimp. Validation is quick, but he bigger the list, the longer it will take.
When you create your NXT Query, be sure to include any fields you wish to use in the mailing in the output criteria (e.g. first name, donation amount etc), you will always need to include an email address and a Constituent ID for all constituents too.
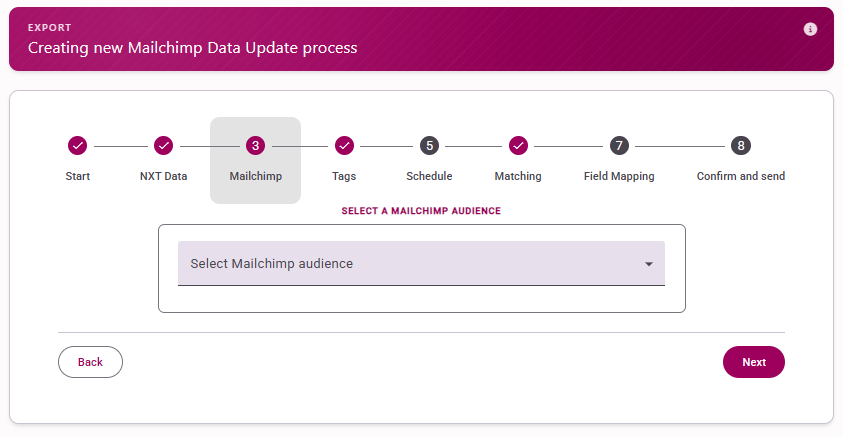
Mailchimp Audience
Select the Mailchimp Audience you wish to use
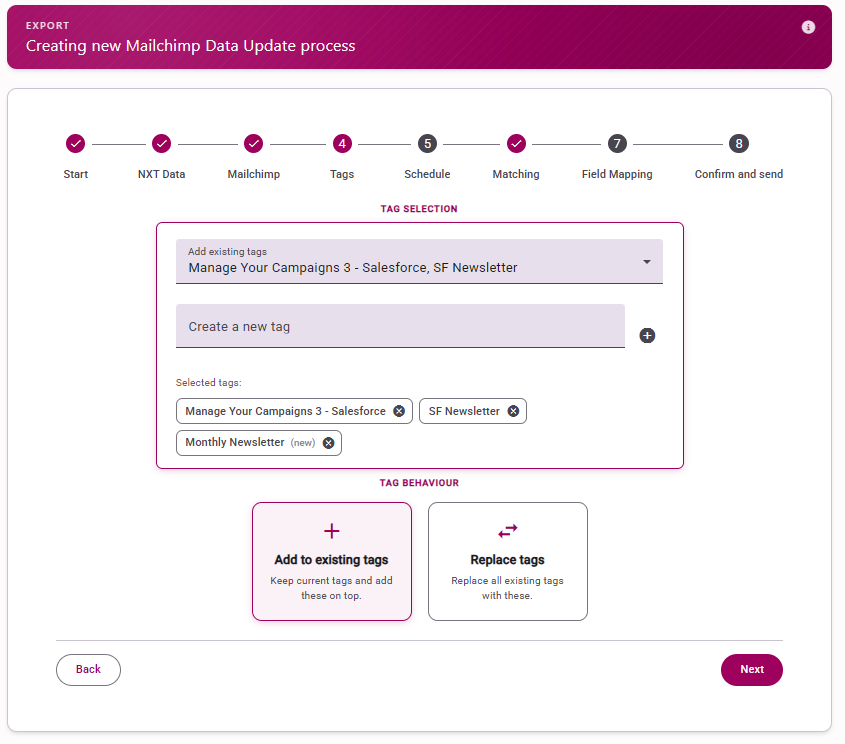
Tags
You can add records in this update to an existing Mailchimp tag or create a new one. You can add multiple tags.
You can also choose whether to add to any existing users tags or overwrite their current tags.
You can choose whether to only add new emails or add new email addresses and update existing records. The first option will not update the values of constituents already in Mailchimp. Please note that existing constituent records are matched by email address only in the update.
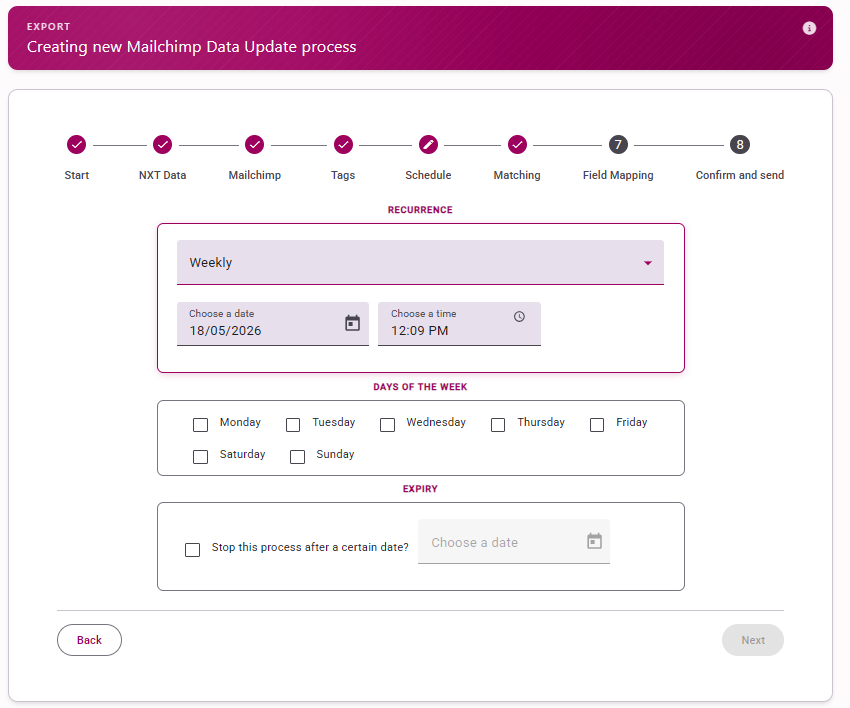
Schedule
Choose the schedule for your Update, you can select from daily, weekly, or monthly. You can now also apply an end date to the process so that you don’t have to lots of scheduled processes running with nothing to process
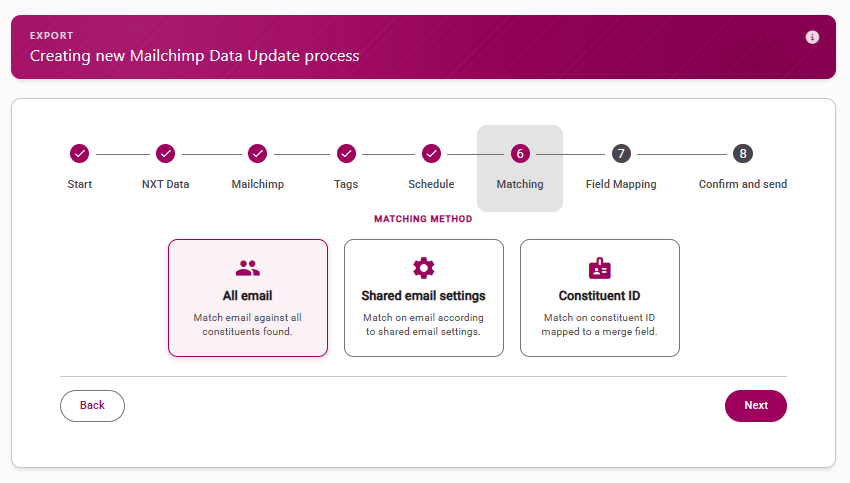
Matching
Choose how records should be matched:
- ‘Match against all constituents found’; so if this email is shared by two or more constituents in your CRM the details will be updated from the first record found containing this email address
- Match on email according to duplicate email settings; if you have defined a ‘main contact’ for an email address in the configuration the details from this record will be updated
- ‘Match on constituent id mapped to the following merge field’; select the Mailchimp field from the drop-down containing your ConsID, this is obviously the most accurate way of matching records
If a record is not found by the matching a new record will be created in Mailchimp. If a record previously unsubscribed by an admin is found this will be updated and added as a subscriber. It is not possible to resubscribe a user who has unsubscribed themselves from an Audience.
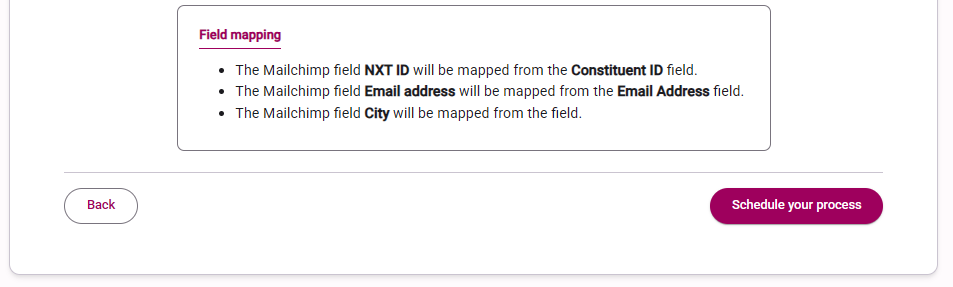
Field Mapping
This will change, depending on whether you selected to use a NXT List or a Query. For NXT Lists, you can map output fields to your Mailchimp merge fields. In order to reduce the number of fields you see in the dropdown we have grouped the List fields into categories. You will need to select the area the field you require is in first, to see the options in the field dropdown.
If you do not wish to import certain Mailchimp fields simply ignore them in your mapping.
If you have another Mailchimp Data Update process that update the same Mailchimp Audience using a Raiser’s Edge Constituent Lists
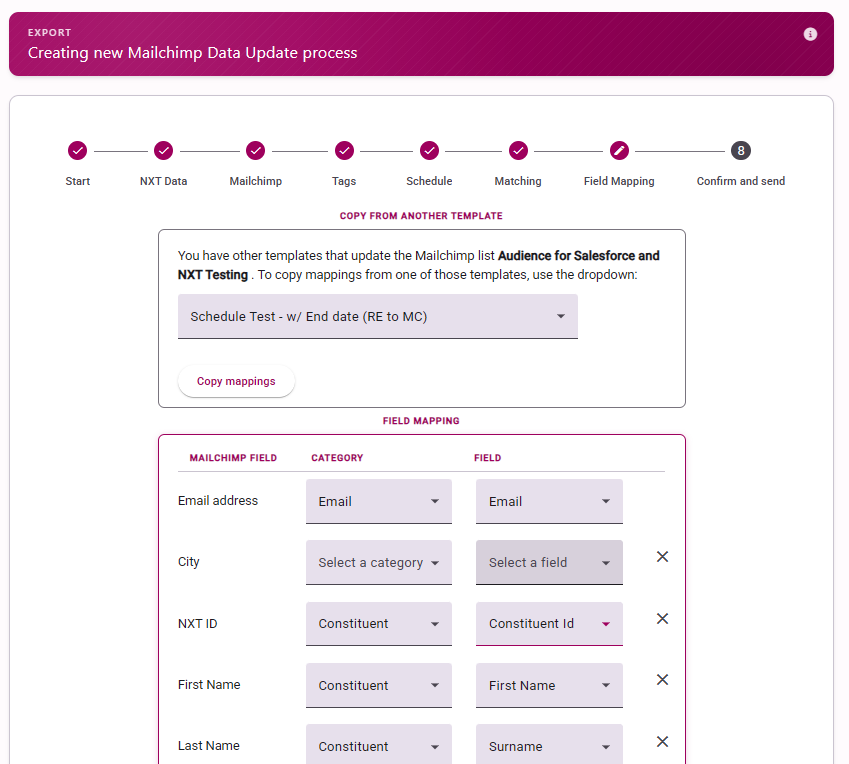
The ConsID field must be matched to the appropriate Mailchimp field in order for the update to proceed.
You can set up any number of merge fields in Mailchimp before your import to accommodate your fields selected in your List output. You must include an email address or the update will not run, as this is a field required by Mailchimp.
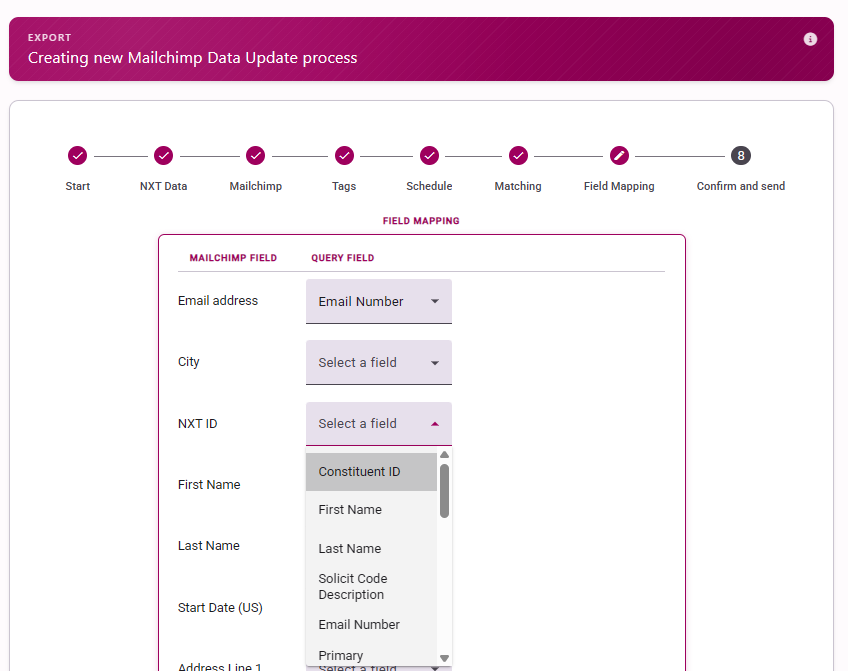
For Query, this shows all the output fields you have added to your query. If a suitable field is missing, you will need to head to your Query in Raiser’s Edge and add the output field there.
Confirm and start
Review your template and when ready, click ‘Schedule your process’. Your Scheduled Mailchimp Data Update will be queued and appear on the Upcoming Scheduled Processes section on the Overview screen. Please note there may be a short delay before the Card appears on the Overview screen due to Mailchimp processing procedures.