Data Sources

The main home screen gives you the current data sources that are available on two tabs (one to import into the Raiser’s Edge and the other to export out of the Raiser’s Edge). Note that the available data sources may differ from the image above.
Select a data source to continue, see each data source FAQ here for specific information on connecting your account to Importacular and bringing in data. For all sources, once the data has been loaded you should follow the below procedure.
File (CSV or Excel) Import
To start working with a file based data source, press the start button and you will be prompted to select a file as shown below.
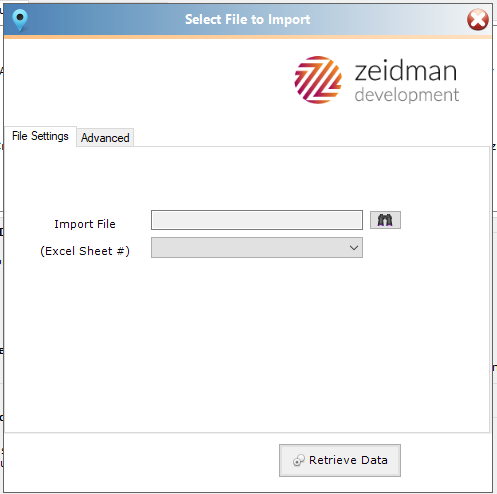
Press the binoculars to select a CSV or Excel file. For Excel you can also select the worksheet to import from.
Mapping
Once a File is selected click’ Retrieve Data’ (if you are working with a data source such as Classy, Eventbrite or EveryAction, you will click ‘Ok’) and the below screen will appear.
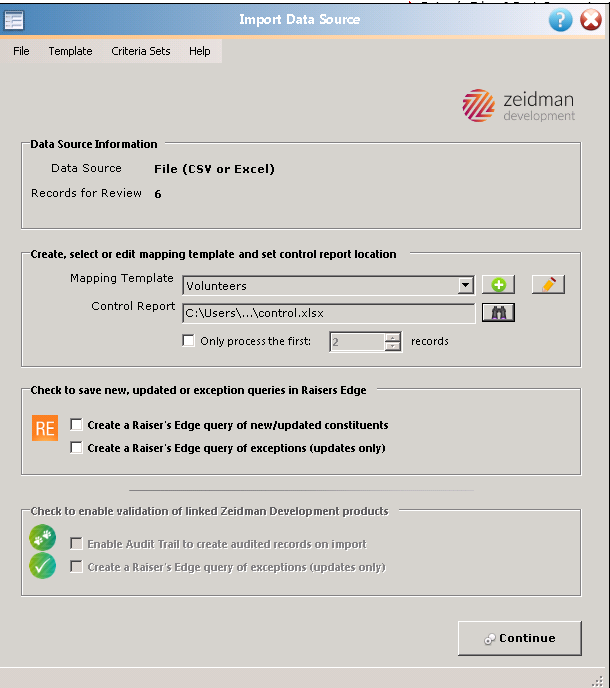
You can now select an existing template from the dropdown menu or add a new one; see the Creating Mappings section for more details.
Once you have created or selected a mapping template see Step 3 – Review data prior to importing.
For more details on connecting to any of the listed data sources and importing your data see the data source FAQ here .