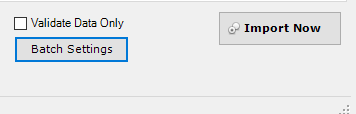
After you have successfully validated your data, it can be imported into the Raiser’s Edge. To begin, you will need to uncheck the ‘Validate Data Only’ box.
At this time, if you would like to import your gifts to an existing batch, you can use ‘Batch Settings’ to do so. You can also use these settings to assign a custom Batch Number and or Batch Description.
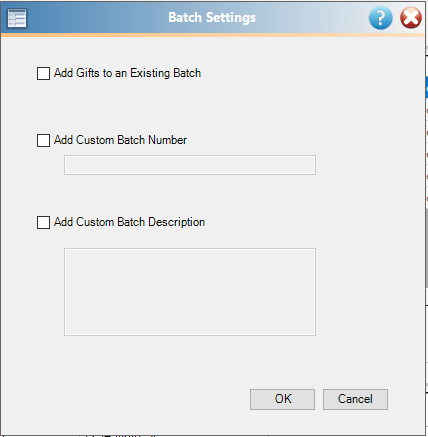
When you click on ‘Batch Settings’, the following options will be available.
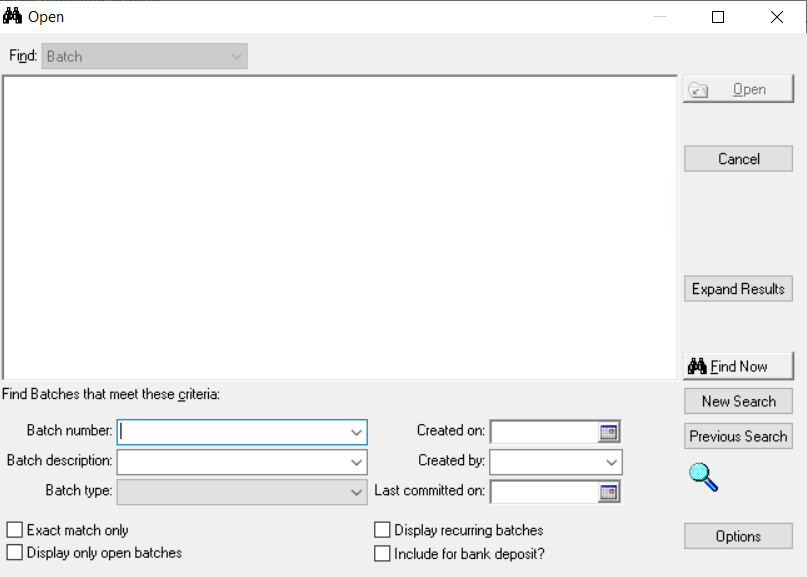
If you have opted to import to an existing batch, at this point, you will be prompted to select the batch.
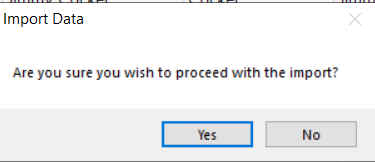
After you click ‘Import Now,’ you’ll be prompted to confirm that you do want to import.
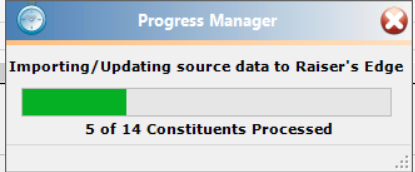
While the import processes, you will see a screen much like the one below.
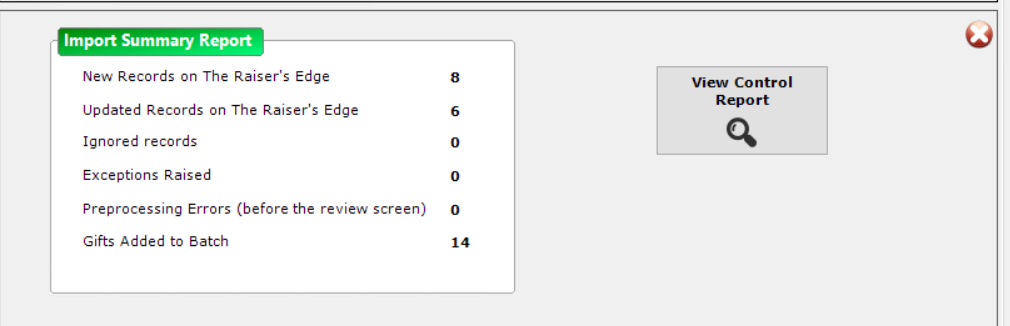
When the import is complete, you will see a review screen that looks like the one below. Should you need to access the control report, you can do that by clicking on ‘View Control Report.’ If you need help opening your Control Report, please see this knowledgebase article.
If you have imported gifts to batch, you will still need to commit your gift batches before they will be visible in the Raiser’s Edge.