Validation allows you to check your template and the data to be processed into the Raiser’s Edge for any errors or exceptions prior to making changes in the Raiser’s Edge.
In order to fully validate, you should assign a validation record in your application settings. If you do not have a validation record selected, you will not be able to validate non-constituent information (such as gifts, relationships, participations, etc.) for new constituents.
If any records are set to Decide, you will need to resolve them. You can read more about that in this Knowledgebase article. Once all of the records have been set to have an ‘Action to Take‘ of Create, Update or Ignore, you can validate.
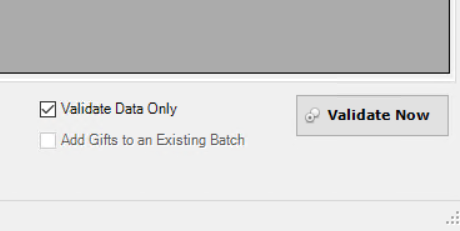
On the bottom right hand corner of the review screen, you will see a check box for ‘Validate Data Only’ and the button will read ‘Validate Now’. When you are ready to validate, click this button. No data will be processed into the Raiser’s Edge while you are in Validation.
After you validate, you will see a summary screen that looks like this:
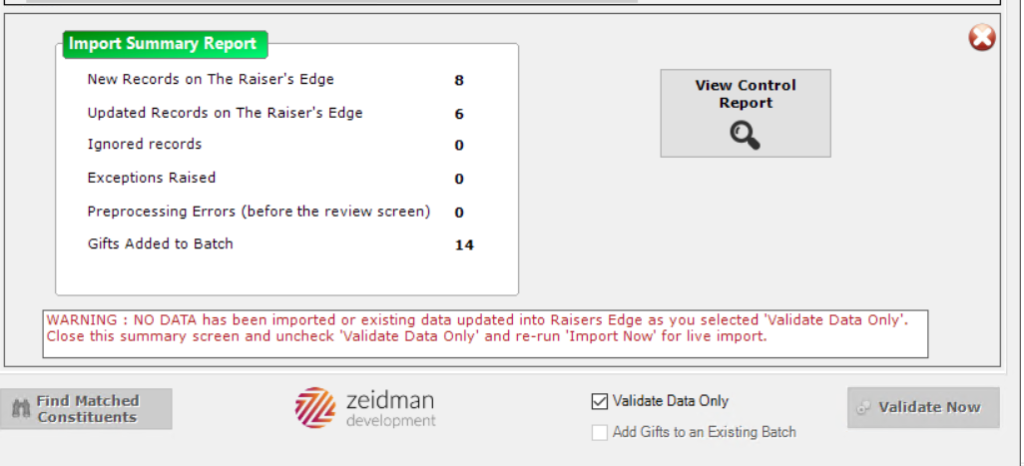
Should you have Exceptions that you need to resolve, you should click on the ‘View Control Report’ button to open your Control Report and review the exceptions. If you need help understanding how to resolve an exception, please begin by searching our Knowledgebase. If you need help opening your Control Report, please see this knowledgebase article.
Once you have identified any exceptions, you will need to make the necessary corrections to resolve them (which often involves editing your template). You may find it helpful to validate again after making corrections to ensure that the issue is resolved.